
This is a 1-Day, 1-Flour white sourdough that will turn you into a confident sourdough baker.
Sourdough bread baking can be cruel when you’re just starting out. The lingo can be confusing, the process complicated and the results – varying, to put it mildly.
At its core, though, it’s all very simple. To learn the basics, pick a straightforward recipe like this one. It has a low dough hydration of 65%. This means the dough doesn’t have much water in % of flour, which makes it a lot easier to handle. The higher the percentage of water compared to flour, the more skilled you need to be to handle the dough.
Once you’ve got this easier dough mastered, you’re MUCH better prepared to try out more challenging recipes.
The Least-Complicated Sourdough Loaf Ever.
- Bulk: 4 hours, Proof: 1-2
- 1 loaf @769g
- Difficulty: Easiest. 65% hydration
- Ingredients
- 400g white flour (all-purpose or bread flour)
- 240g water
- 9g salt
- 120g active, mature sourdough starter @100% hydration
- Instructions
- Mix your dough.
- Let it bulk ferment for around 4 hours. Do 4 stretch-and-folds, 30 minutes apart. Then leave it alone.
- Preshape into a round and let rest for 30 minutes. Optional.
- Shape into a boule (a round loaf).
- Proof for 1-2 hours.
- Score your loaf (make some cuts into the surface). Optional.
- Bake at 232C/450F for 30 to 35 minutes.
The process for this no-frills white sourdough bread is straightforward. If you’re unfamiliar with some of the terms, read my guide or send me a message here or on Instagram.
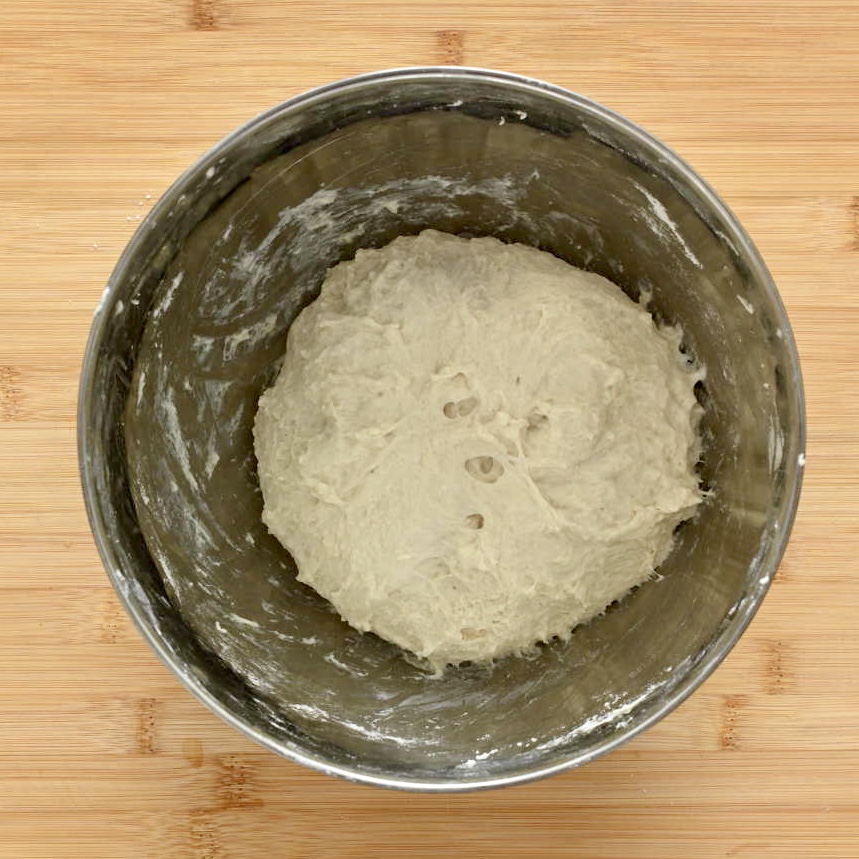
1. Mix
Make sure that your starter is active when you start mixing. If it doesn’t show any activity, feed it until it rises and shows some nice bubbles. Now you can use it!
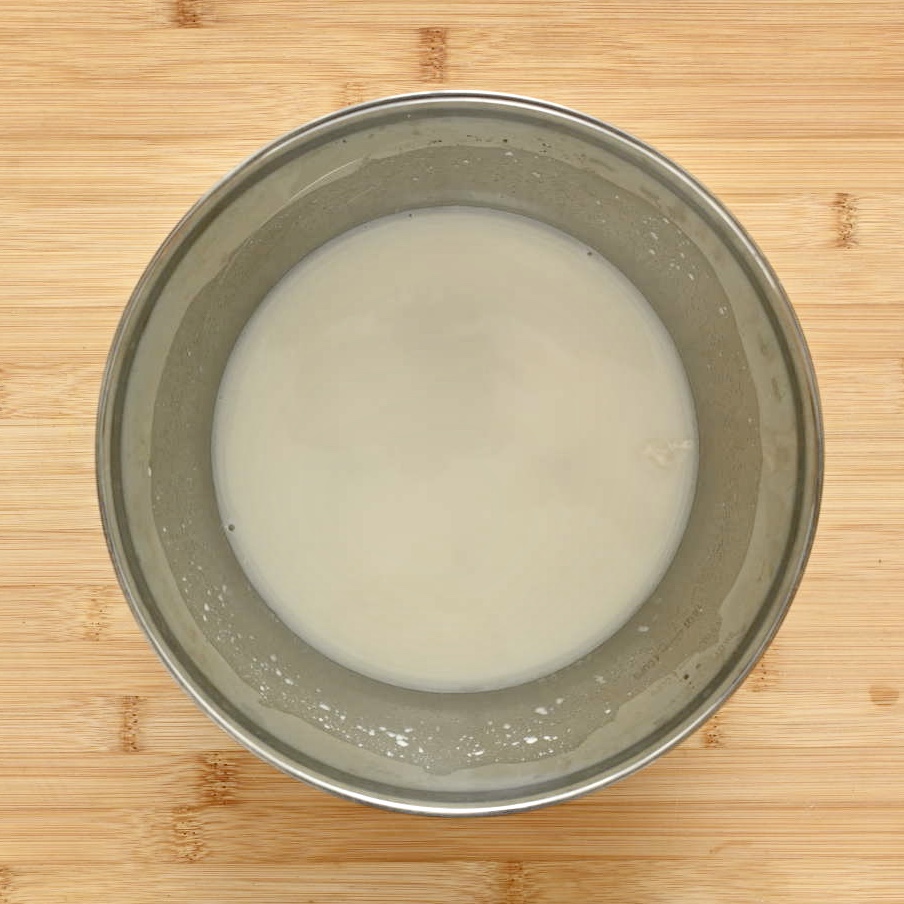
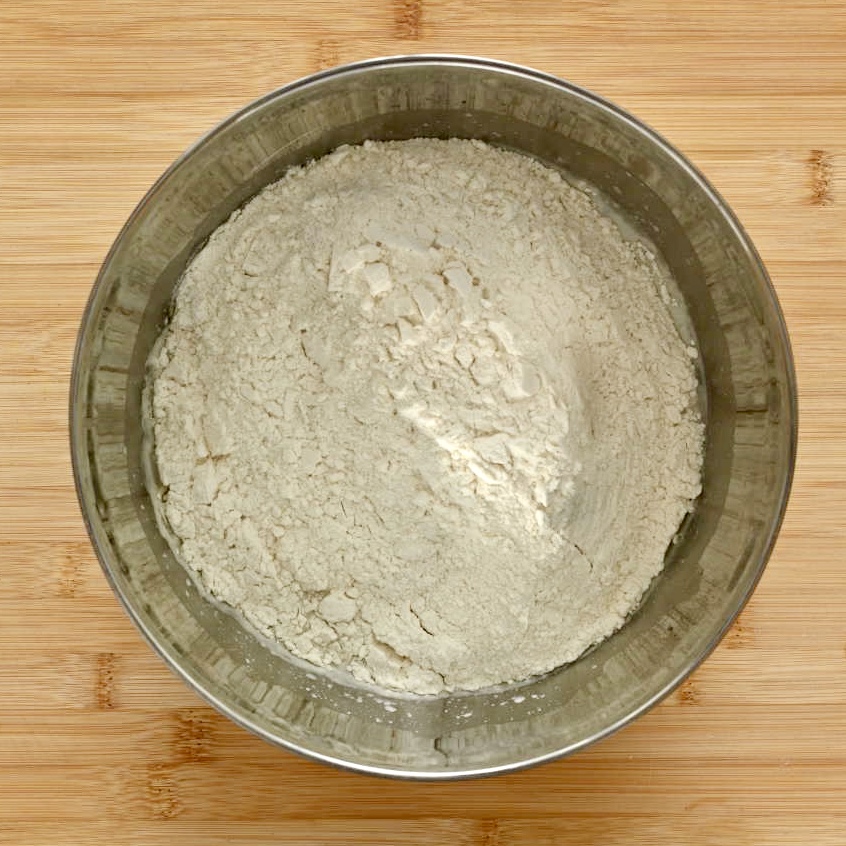
Mix all the ingredients together until the dough becomes homogenous. Start by adding the starter to the water and mix until you’ve got a slurry (see the image on the left). Then add flour and salt. Cover the bowl and put it somewhere nice and warm, but not hot.
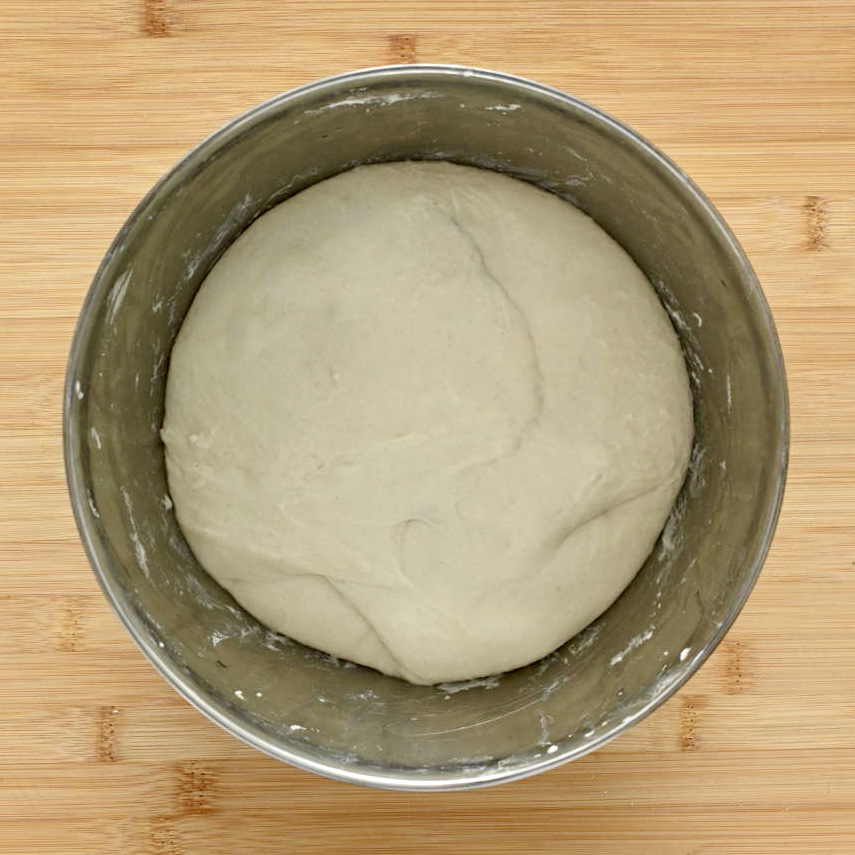
2. Bulk fermentation
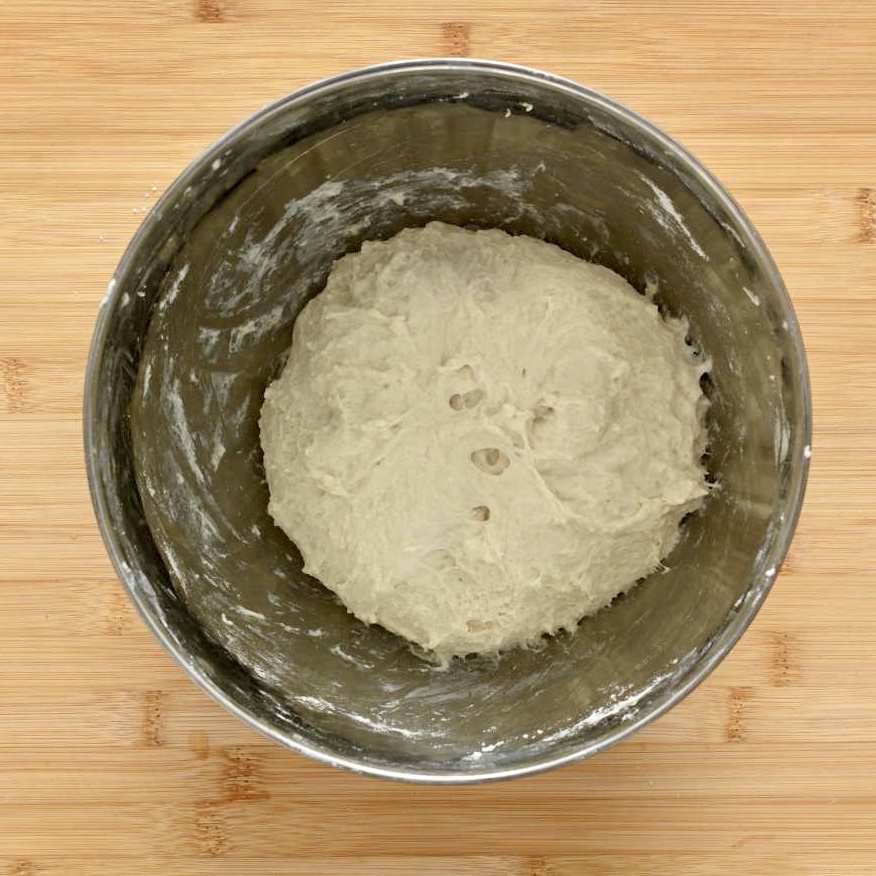
After the first 30 minutes of bulk fermentation, give your dough a stretch-and-fold: With a wet hand, grab one side of the dough, stretch it upwards and fold it over onto itself. Repeat with all four “sides” of the dough. You do this to give your dough some strength and help it develop gluten. Do three more stretch-and-folds, 30 minutes apart.
Bulk fermentation is on average 4 hours for this dough for me. In summer, it sometimes only takes 3 hours. You’ll know that your dough is done bulk fermenting when it passes the windowpane test (see below) and when it’s become jiggly, soft, smooth and stretchy. Don’t worry, after a couple of bakes, you’ll be able to see if your dough is ready at one glance. For more guidance refer to our post here.
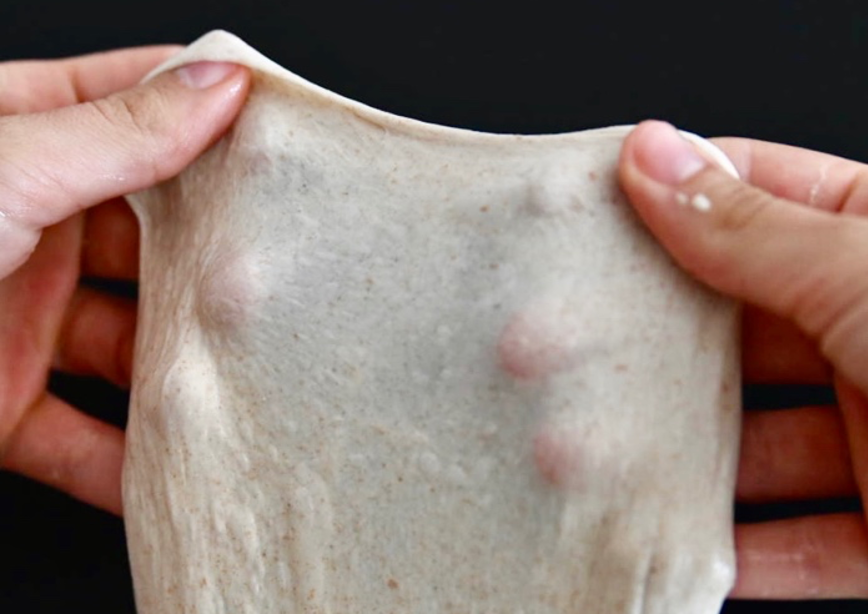
The Windowpane Test
With the windowpane test, you’re checking if your dough has developed enough gluten. Take a bit of dough into your hands and gently stretch it between your fingers. Pay attention to how much you can stretch the dough before it tears (which it will, eventually). Can you pull it so that it’s almost translucent, so you can see your fingers through the dough? Then your dough has formed enough gluten. Does it tear before it forms a windowpane? Then it needs a bit more time and/or folds before you can shape it.
3. Preshape (optional)
Turn the dough out onto your lightly floured work surface. Preshape it into a round. I’ve included a video of the great Trevor Jay Wilson doing that. You basically use one hand to round the dough. With your bench knife, or with the other hand, you create tension by pressing one side of the loaf towards the other side. Then you turn the loaf a bit and repeat.
Let the dough rest until it has relaxed a bit (30 minutes or so).
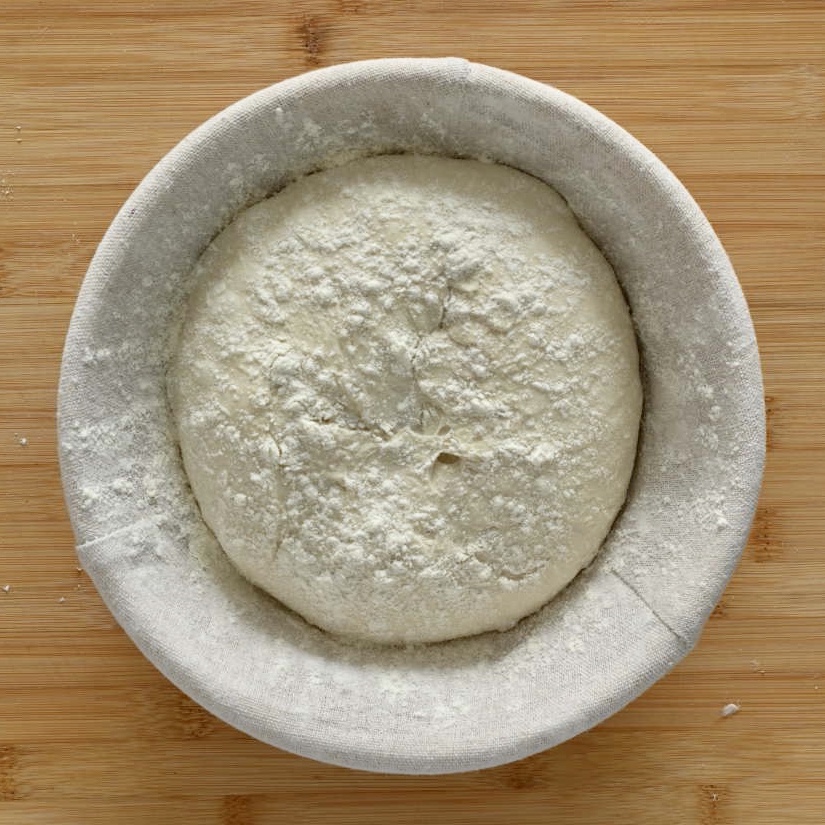
4. Shape
Shape the dough into a boule. With a stiff dough like the one we’re making here, you can use the same method for the final shape that you used for the preshape.
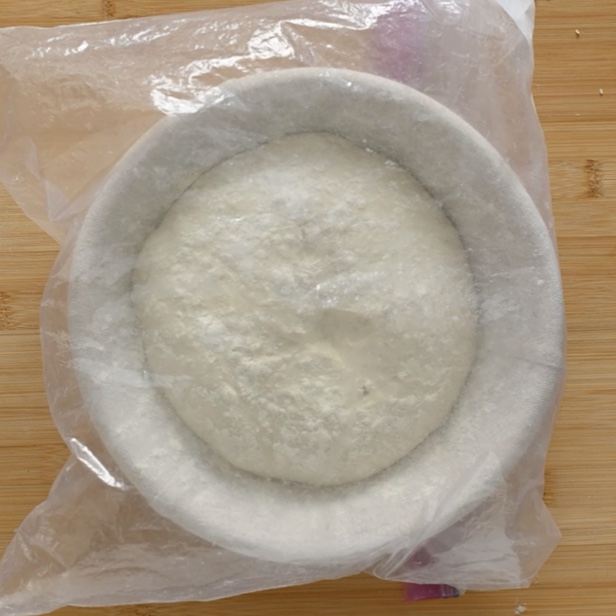
After shaping, put the dough with the top down into a round banneton (at least 20cm or 8″ in diameter) and cover it. Make sure that the cover doesn’t touch the dough. I always use a large ziplock bag as a cover. Flour the top of your loaf to prevent it from sticking and put the entire banneton inside the bag.
Leave the banneton someplace warm, but not hot.
5. Final proof
Proofing for this loaf takes 1 or 2 hours. I know it can be frustrating to not know if it’s the one or the other. Well, we’re almost ready to present a solution to this problem soon ;).
In the meantime, you should look at your dough every half hour or so to see if it’s ready. How do you know?
One very common test to judge the degree of final proof is the finger poke test: Use a wet finger to gently poke into you dough. Pay attention to how fast the dough springs back to fill in the indentation from your finger:
- The dough springs back fast and completely? It’s likely underproofed.
- The dough doesn’t spring back at all or only barely? It’s likely overproofed.
- The dough slowly springs back (almost) completely? It’s likely perfect.
Here’s a time-lapse of this loaf during final proofing.
6. Score your loaf (optional).
Turn your loaf out onto some parchment paper. Then use a sharp blade (I used a razor blade for this one) and make a cut across the surface of the loaf. This is called scoring, and it will determine where your dough releases steam in the oven, and how it will look.
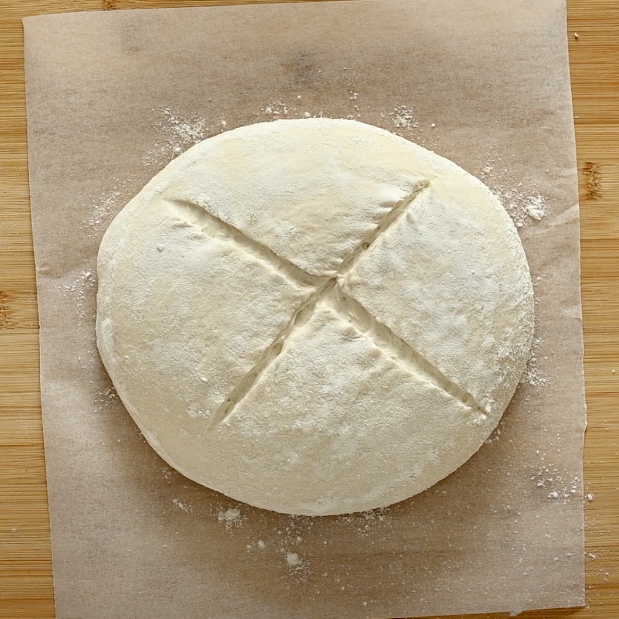
If you don’t score your loaf, it will have a rougher look. It will crack open where it wants. Nothing wrong with that, but you might not get a picture-perfect loaf of bread.
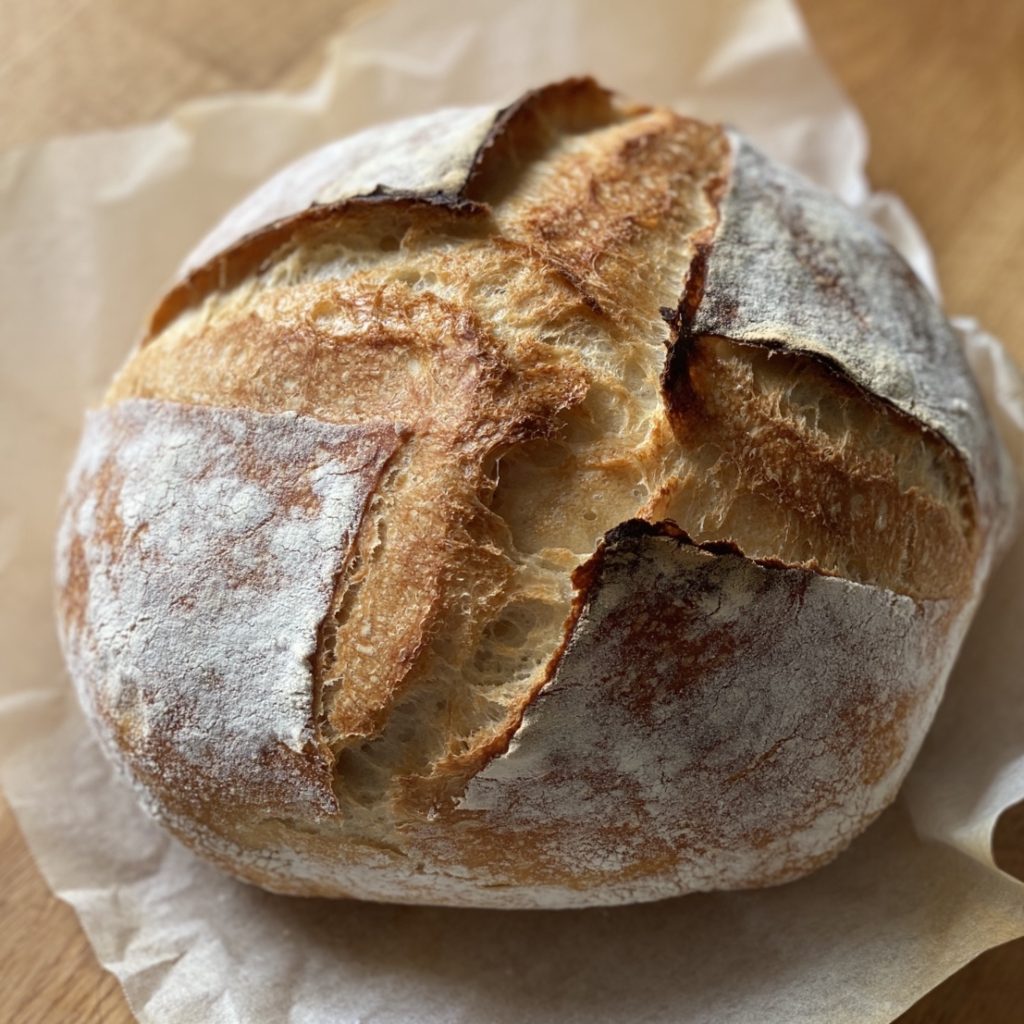
7. Time to bake!
Preheat your oven to 500F/260C.
Put the loaf in. Reduce the temperature to 450F/232C.
Your dough will need some steam to bake perfectly. You can either use a Dutch Oven with the lid on for the first 15 minutes, or you can create some steam some other way. For example, you can pour some boiling water into a pan that you place at the bottom of the oven.
Bake for 30-35 minutes.
Bon appetit!
Let me know if you’ve got questions!

The easiest and most tasty sourdough bread. Always turns out perfect!
I’m glad to hear that! 🙂
I am actually in years over sour dough….I thought getting an active starter was hard…took forever….now I am stretching and folding recipes and the gluten development is laughable. Is this recipe fool proof? I just want to give up
I feel you, Vanessa! Almost every beginner sourdough baker has this moment when they think that this will never work, that it’s just too difficult. I’m glad you kept at it and have had a successful bake now!
Well. This is the best I’ve done so far after 5 attempts with other recipes so I immensely appreciate you! Still looks smaller then I thought but anytime I let it bulk ferment longer it gets to sticky ! Won’t let me send pics but I’m proud of progress. THANK YOU, THANK YOU THANK YOU!
That’s awesome, thanks for sharing! I’m happy I could be of help 🙂
I decided to go ahead and make this … Still doing bulk fermentation….but regardless how it turns out I can at least start to form it into more of a ball shape with the stretch and folds. The first two recipes I tried was a sticking mess that kept getting worse.
I don’t know why it is but I measure flour and water carefully and I always have problems with hydration even in normal dry yeast loaves.
Would your rye recipe be ok do you think if a person struggles with wet dough?
That’s the problem with most recipes, for beginners they’re too wet. You can always use less water than what the recipe calls for, and then if the dough feels too dry, add a tiny bit more until you’ve got all your flour hydrated.
The rye recipe is great for beginners, as it’s so easy to do. You can even let it overproof by one or two hours and it won’t be a problem. Do let me know if you give it a go and how it turns out!
Highly recommend this recipe other other ones have not worked for me. Best beginners sourdough recipe I’ve found
Thanks for that feedback, Nessa, I’m happy to hear it was a helpful recipe!!
Hi! Should I preheat the oven with the Dutch oven inside it? Thank you!
Yes 🙂
Hello, rookie here. I wanted to ask what to do with the remaining starter. I used the 120 grs. in the recipe. I am almist at the “windowpane” stage. So far it’s working.
Do I feed the rest immediately, if I’m not going to bake at least in the next 3 days? Or do I put it in the fridge and feed it 12 hours before using it? Thank you!
That’s great, Marina. You don’t need to feed the rest. You can put a bit in the fridge and then take it out a couple of hours before you need it for baking.
So looking forward to using this recipe. I have tried other recipes. First one ended up as a hard solid disk, second and third not bad…lost flavor within two days and as they cooled they densed up – too much. I have a good starter… getting ready to share it with for the first time. So I am the researcher and tester of our small homemakers group. So will be trying this out tonight when I get off work. – One major question…will this recipe work to make smaller individual bread bowls and would it be ok to bake them in ceramic/clay pottery bowls?
Thanks Christi, for your message! And sorry for the late reply. Did you end up trying the recipe? How did it go?
Hi! Should I preheat the oven with the Dutch oven inside it? Thank you!
Yes! 🙂
Can you put in the fridge overnight to make flavor more sour?
Yes, definitely 🙂 I do that most times
Looking forward to trying your recipe! Do you preheat your Dutch oven or put it into the oven cold?
I always preheat the Dutch oven. I’ve tried a couple of times with the cold oven method (like Elaine from foodbod recommends) but it has never quite worked out for me.
Am I ok to leave this in the fridge overnight? I fed my starter earlier and wanted to have it all ready to bake tomorrow morning?
I’m starting to want to give this up as a bad job. After many aborted attempts, I finally grew a lovely, active starter but the 3 recipes I’ve used have resulted in very sticky doughs that don’t hold their shape. They all tasted lovely toasted but I’m starting to think I’ll never master this sourdough and am tempted to stick with my yeast baking. So your recipe, and the resulting comments, have given me a glimmer of hope!
Dear Alison, oh no, I’m sorry you had such a tough time getting started. Yes, please absolutely give this recipe a try, I have high hopes that this could be your first successful loaf. And yes, absolutely, you can leave it in the fridge overnight. Let me know how it goes! I’m happy to help troubleshoot via email, too.