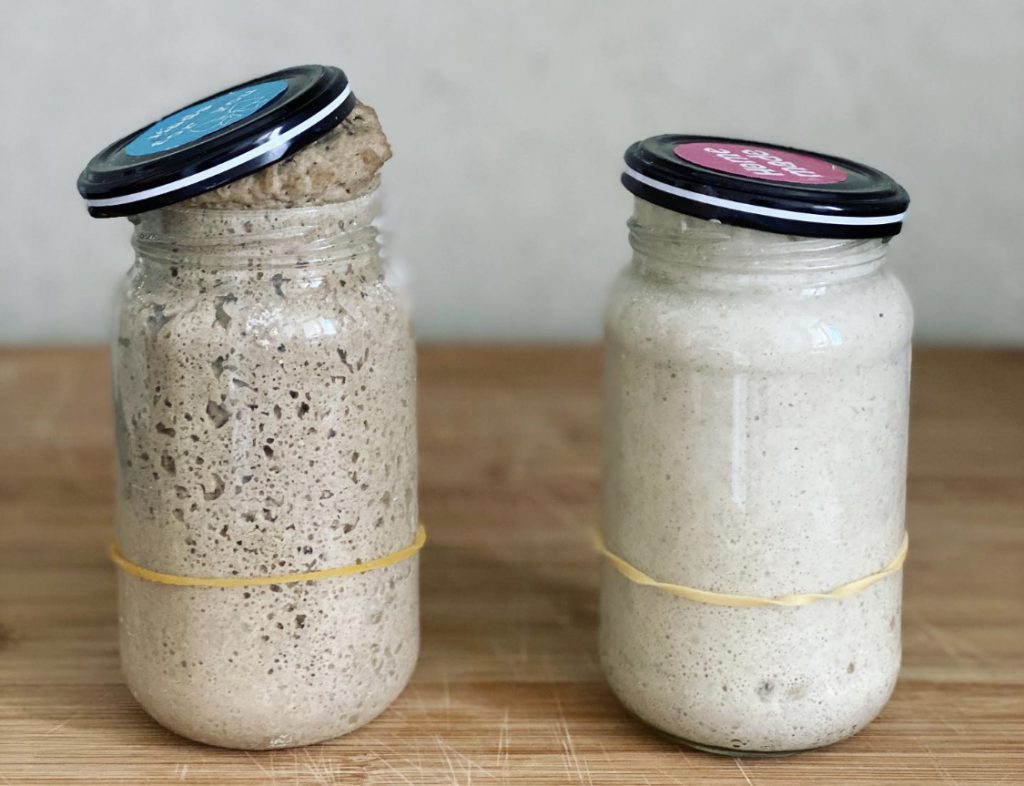
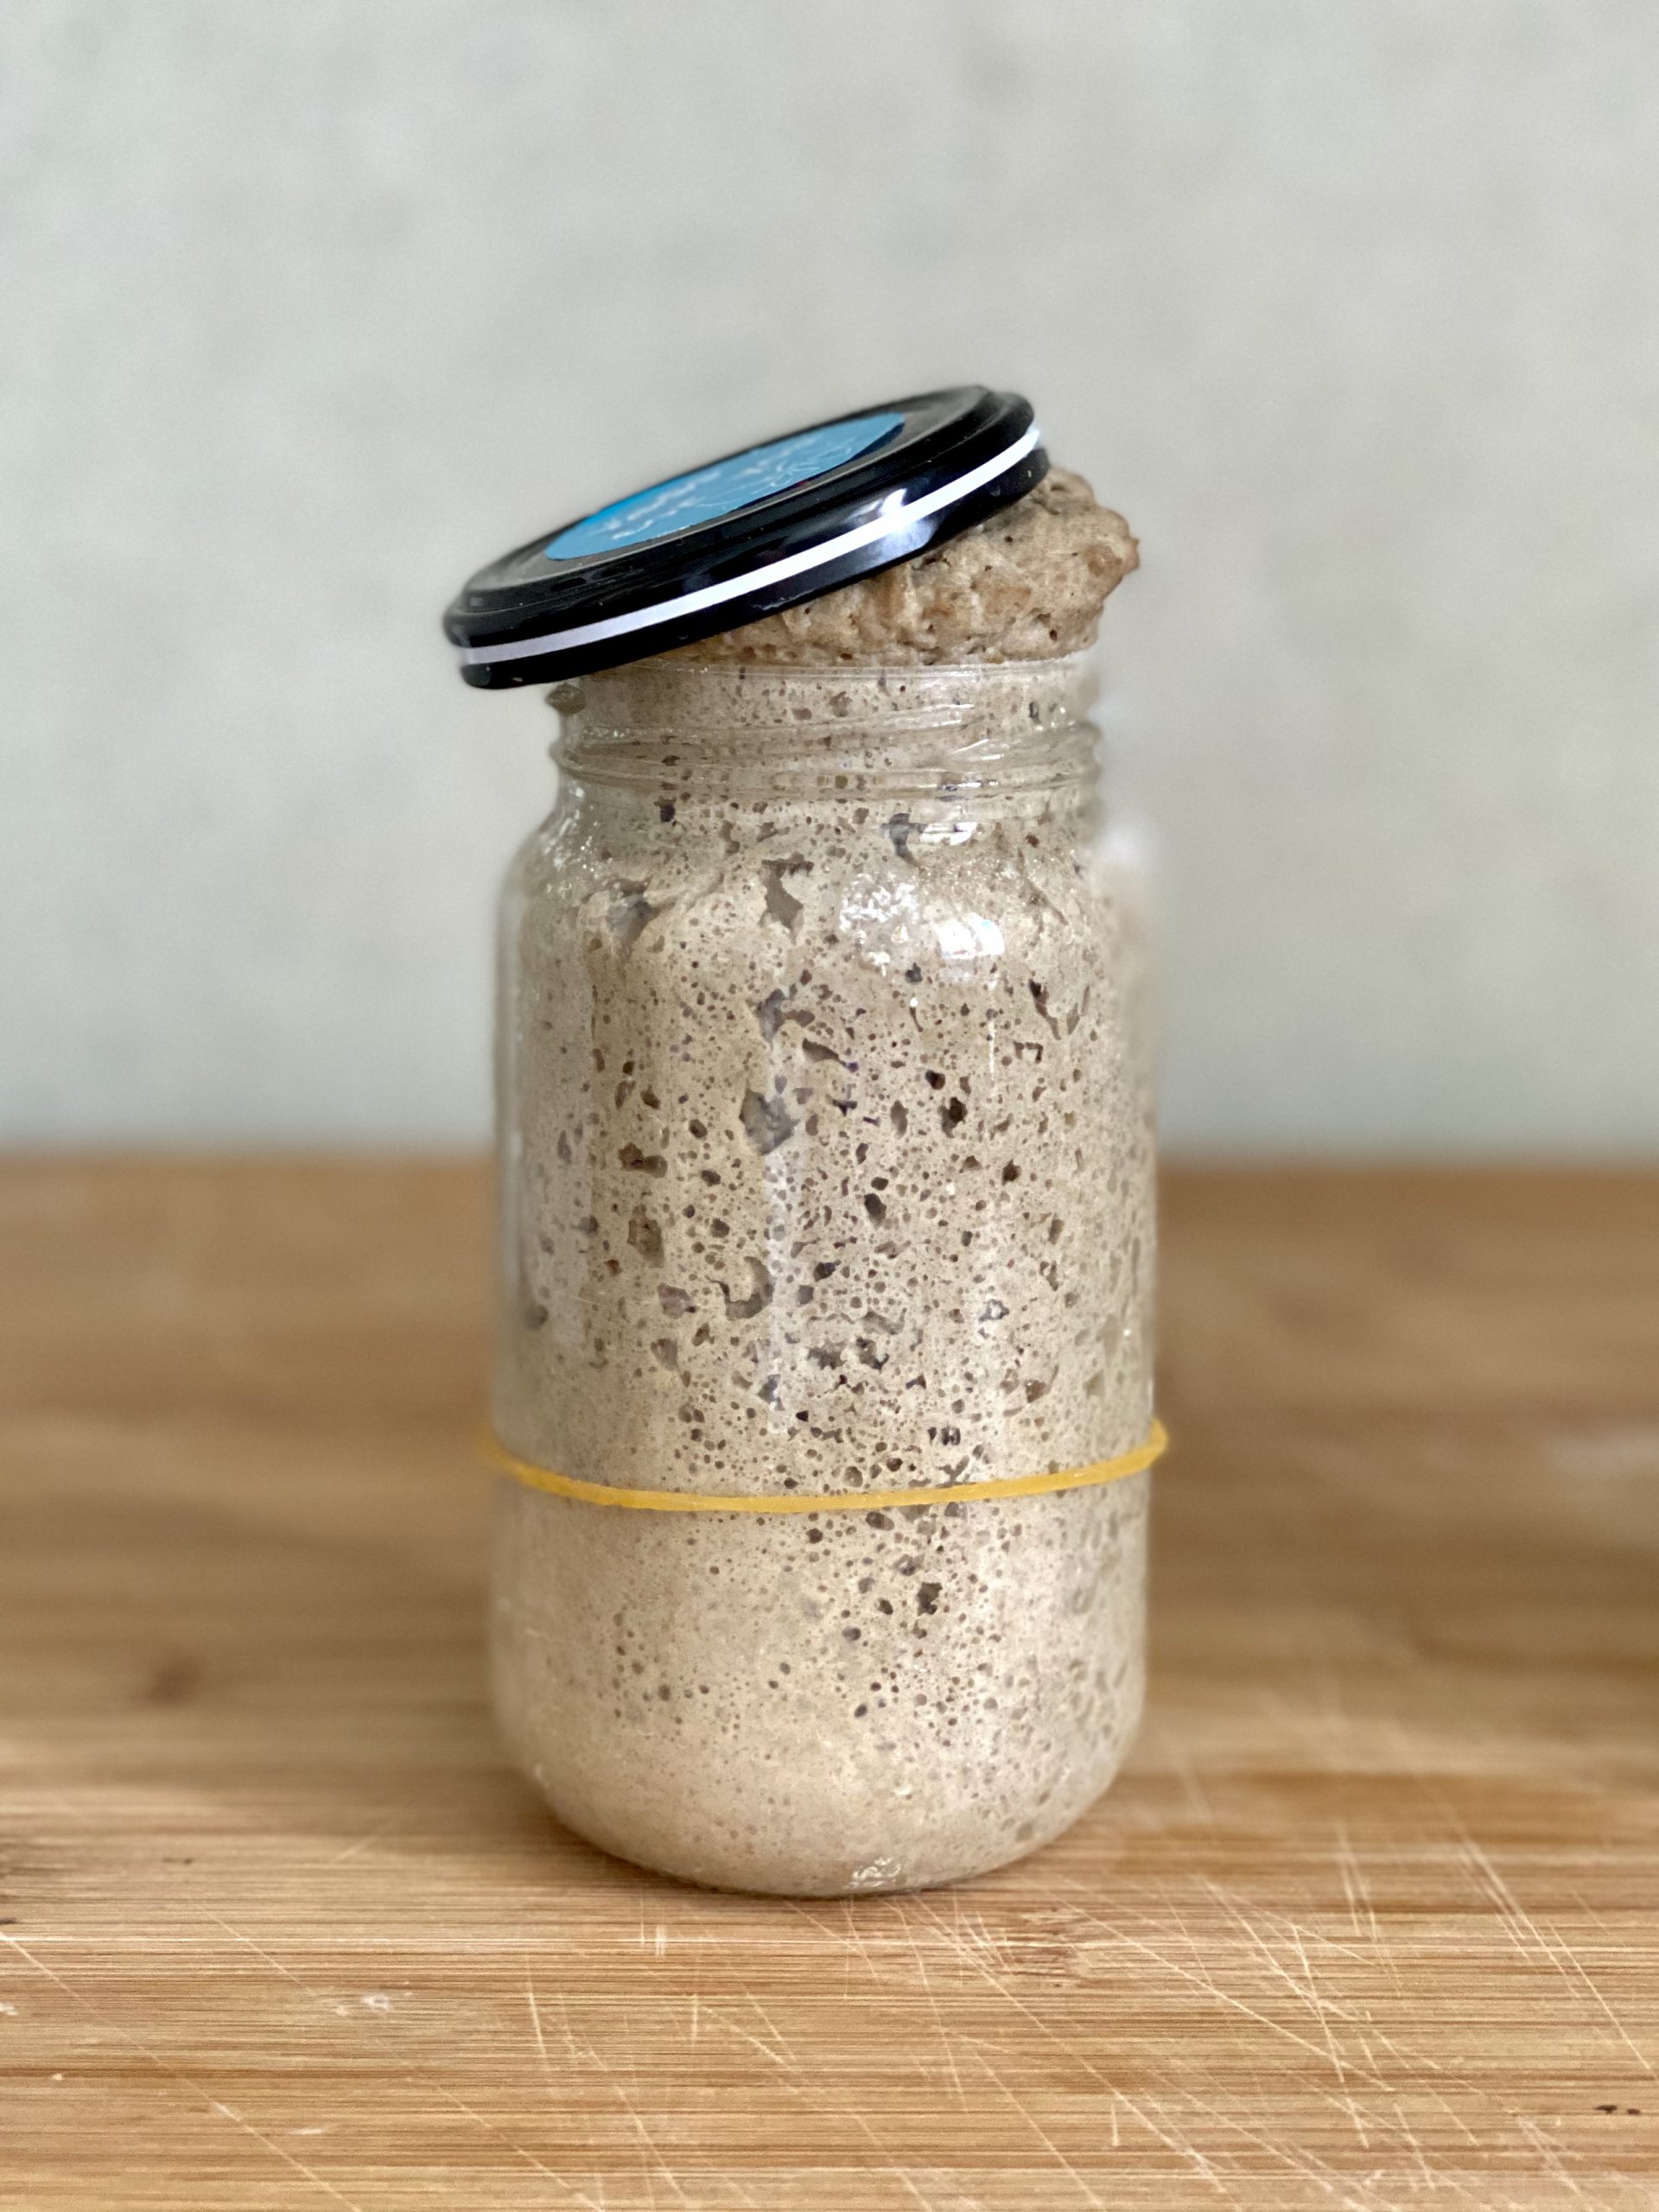
+++ Public safety announcement: Sourdough bread baking can become an addiction quickly. +++ Proceed with care. +++
Still with us? Great. Let’s get you started!
What’s a sourdough starter?
A sourdough starter is the basis for every sourdough bake. It’s the fuel your dough needs to turn into delicious bread or pastry. It does for your sourdough what commercial yeast does for non-sourdough bread.
Is it difficult to make a sourdough starter?
A sourdough starter isn’t difficult to make and keep alive and happy. It needs flour, water, and a little bit of time. That’s enough to attract the right microorganisms – mostly wild yeast and lactobacilli.
If you feed the microorganisms in your starter regularly, they’ll lift your bread over and over again. You can use a healthy starter for years, even decades. I’ve heard of people who use a 170-year-old starter that’s been passed on through the generations.
What do I need to make a sourdough starter?
You don’t need a lot of equipment.

Two containers to keep the starter
We like to use glass jars, because we can see the starter’s activity through the glass.
You can buy Weck jars, or simply repurpose a jar you bought for something else, for example an empty peanut butter jar. Make sure to clean them well and remove the labels on the outside for a better peak inside (and a nicer photo of your starter ;)).
A kitchen scale
This is a must! Yes, we’re looking at you, dear American bakers. Measuring flour by volume is not precise enough. You need to measure flour and water by weight. This goes for feeding your starter as well as for mixing your dough.
Flour
It’s easiest to make a strong starter if you begin with a high proportion of whole-grain rye flour. It has lots of nutrients that help to get the process started. We’ll use some all-purpose flour, as well.
Water
You can use tap water. But if your water is high in chlorine and you use it straight from the tap, the chemicals can make fermentation difficult. In that case, fill a big jug with tap water and let it sit uncovered for a night before you use it. This will allow the chlorine to go away.
You could also use bottled water.
Ready? Here’s how this is gonna go.
Day 1
Take an empty jar and place it on your scale. Set the scale to zero, then add 100 grams of whole-grain rye flour and 150 grams of water.
Mix until you don’t see any bits of dry flour anymore. You can use a small silicone spatula for this, a spoon or its handle… it doesn’t matter. In the beginning, use what you’ve got lying around and don’t buy extra equipment.
Cover the jar loosely and let is rest out of direct sunlight for 24 hours. Keep the jar somewhere warm. 80 to 85°F; 26 to 29°C is best. If it’s colder in your house, you can warm up the water a bit before mixing.
Day 2
You may already see some fermentation activity. But don’t break into song and dance yet. This activity is from unwanted yeast and bacteria that will soon die off. Continue feeding your starter as described. The “wrong” activity will die down and the right one will start at around day 3 to 5.
Place your empty jar on the scale and set the scale to zero. Add 75 grams of the mixture from Day 1 to the jar on the scale. Then, add 50 grams of all-purpose flour, 50 grams whole-grain rye flour, and 125 grams of water.
Mix until there are no dry bits anymore. Cover loosely and let it rest for 24 hours.
Throw away the rest of the mixture in Jar 1 and clean it in preparation for the next day.
Day 3
On Day 3, there may be fermentation activity, or there may not. Both are ok. Repeat the steps from Day 2.
Day 4
You should begin to see signs of fermentation on Day 4: Bubbles on the top and at the sides, and the mixture could have risen and fallen a bit.
Repeat the steps from Day 2, but then let the mixture rest for 12 hours only.
After 12 hours, repeat once again and let rest for another 12 hours.
Days 5 & 6
Follow the same feeding rhythm as on Day 4, twice a day. You should start to see lots more fermentation activity.
Day 7
Place a clean jar on the kitchen scale and put it to zero.
Add 50 grams of yesterday’s mixture, 50 grams all-purpose flour, 50 grams whole-grain rye flour and 100 grams of water. Let the mixture rest for 12 hours, covered. Repeat this after 12 hours.
Is my new starter ready for its first bake?
Your new starter should now show signs of fermentation activity, like bubbles. It should rise and fall consistently. If it rises and falls in the same way, each day, that’s a very good indicator that it’s strong enough to use for your first loaf.
If your starter appears weak, don’t fret. It could be that it’s too cold in your kitchen or that your flour is not ideal. But if you continue feeding twice a day as described above, you should soon see signs of regular fermentation.
From now on, each time you want to use your starter to bake, you feed it with flour and water, mix, and let it rest until it’s nice and active. Easy enough!


